moonshine
cedar strip canoe
Finding ourselves bored one June afternoon, two high school buddies and I decided to build something to keep ourselves busy over break.
None of us had a boat, but we all wanted one. The local lakes were calling.
But why buy what you can make? That’s been my philosophy since completing this project.
Days after our conversation, Ted Moore's how-to book Canoecraft showed up on my doorstep, and we launched an 18-month project that would spark my passion for woodworking, and teach me that it is immeasurably more satisfying to make something with your hands than to just buy it.
This canoe has soul.
It bears the souls of three boys whose hands bent, shaped, and sanded every inch of its surface.
We named her Moonshine.
Below are images from launch day, when she first met the water.
launch day – 10.19.2015
launch day photo credit to our wonderful photographer & friend, abigail whisler.
making moonshine
a cross-sectional form mold is constructed on a “strongback” bench.
a homemade steambox was improvised with a wallpaper steamer and a length of pvc pipe.
any piece of wood too stiff to make the curve is pressure cooked overnight.
the white oak stem was steam bent and laminated into shape around this mold.
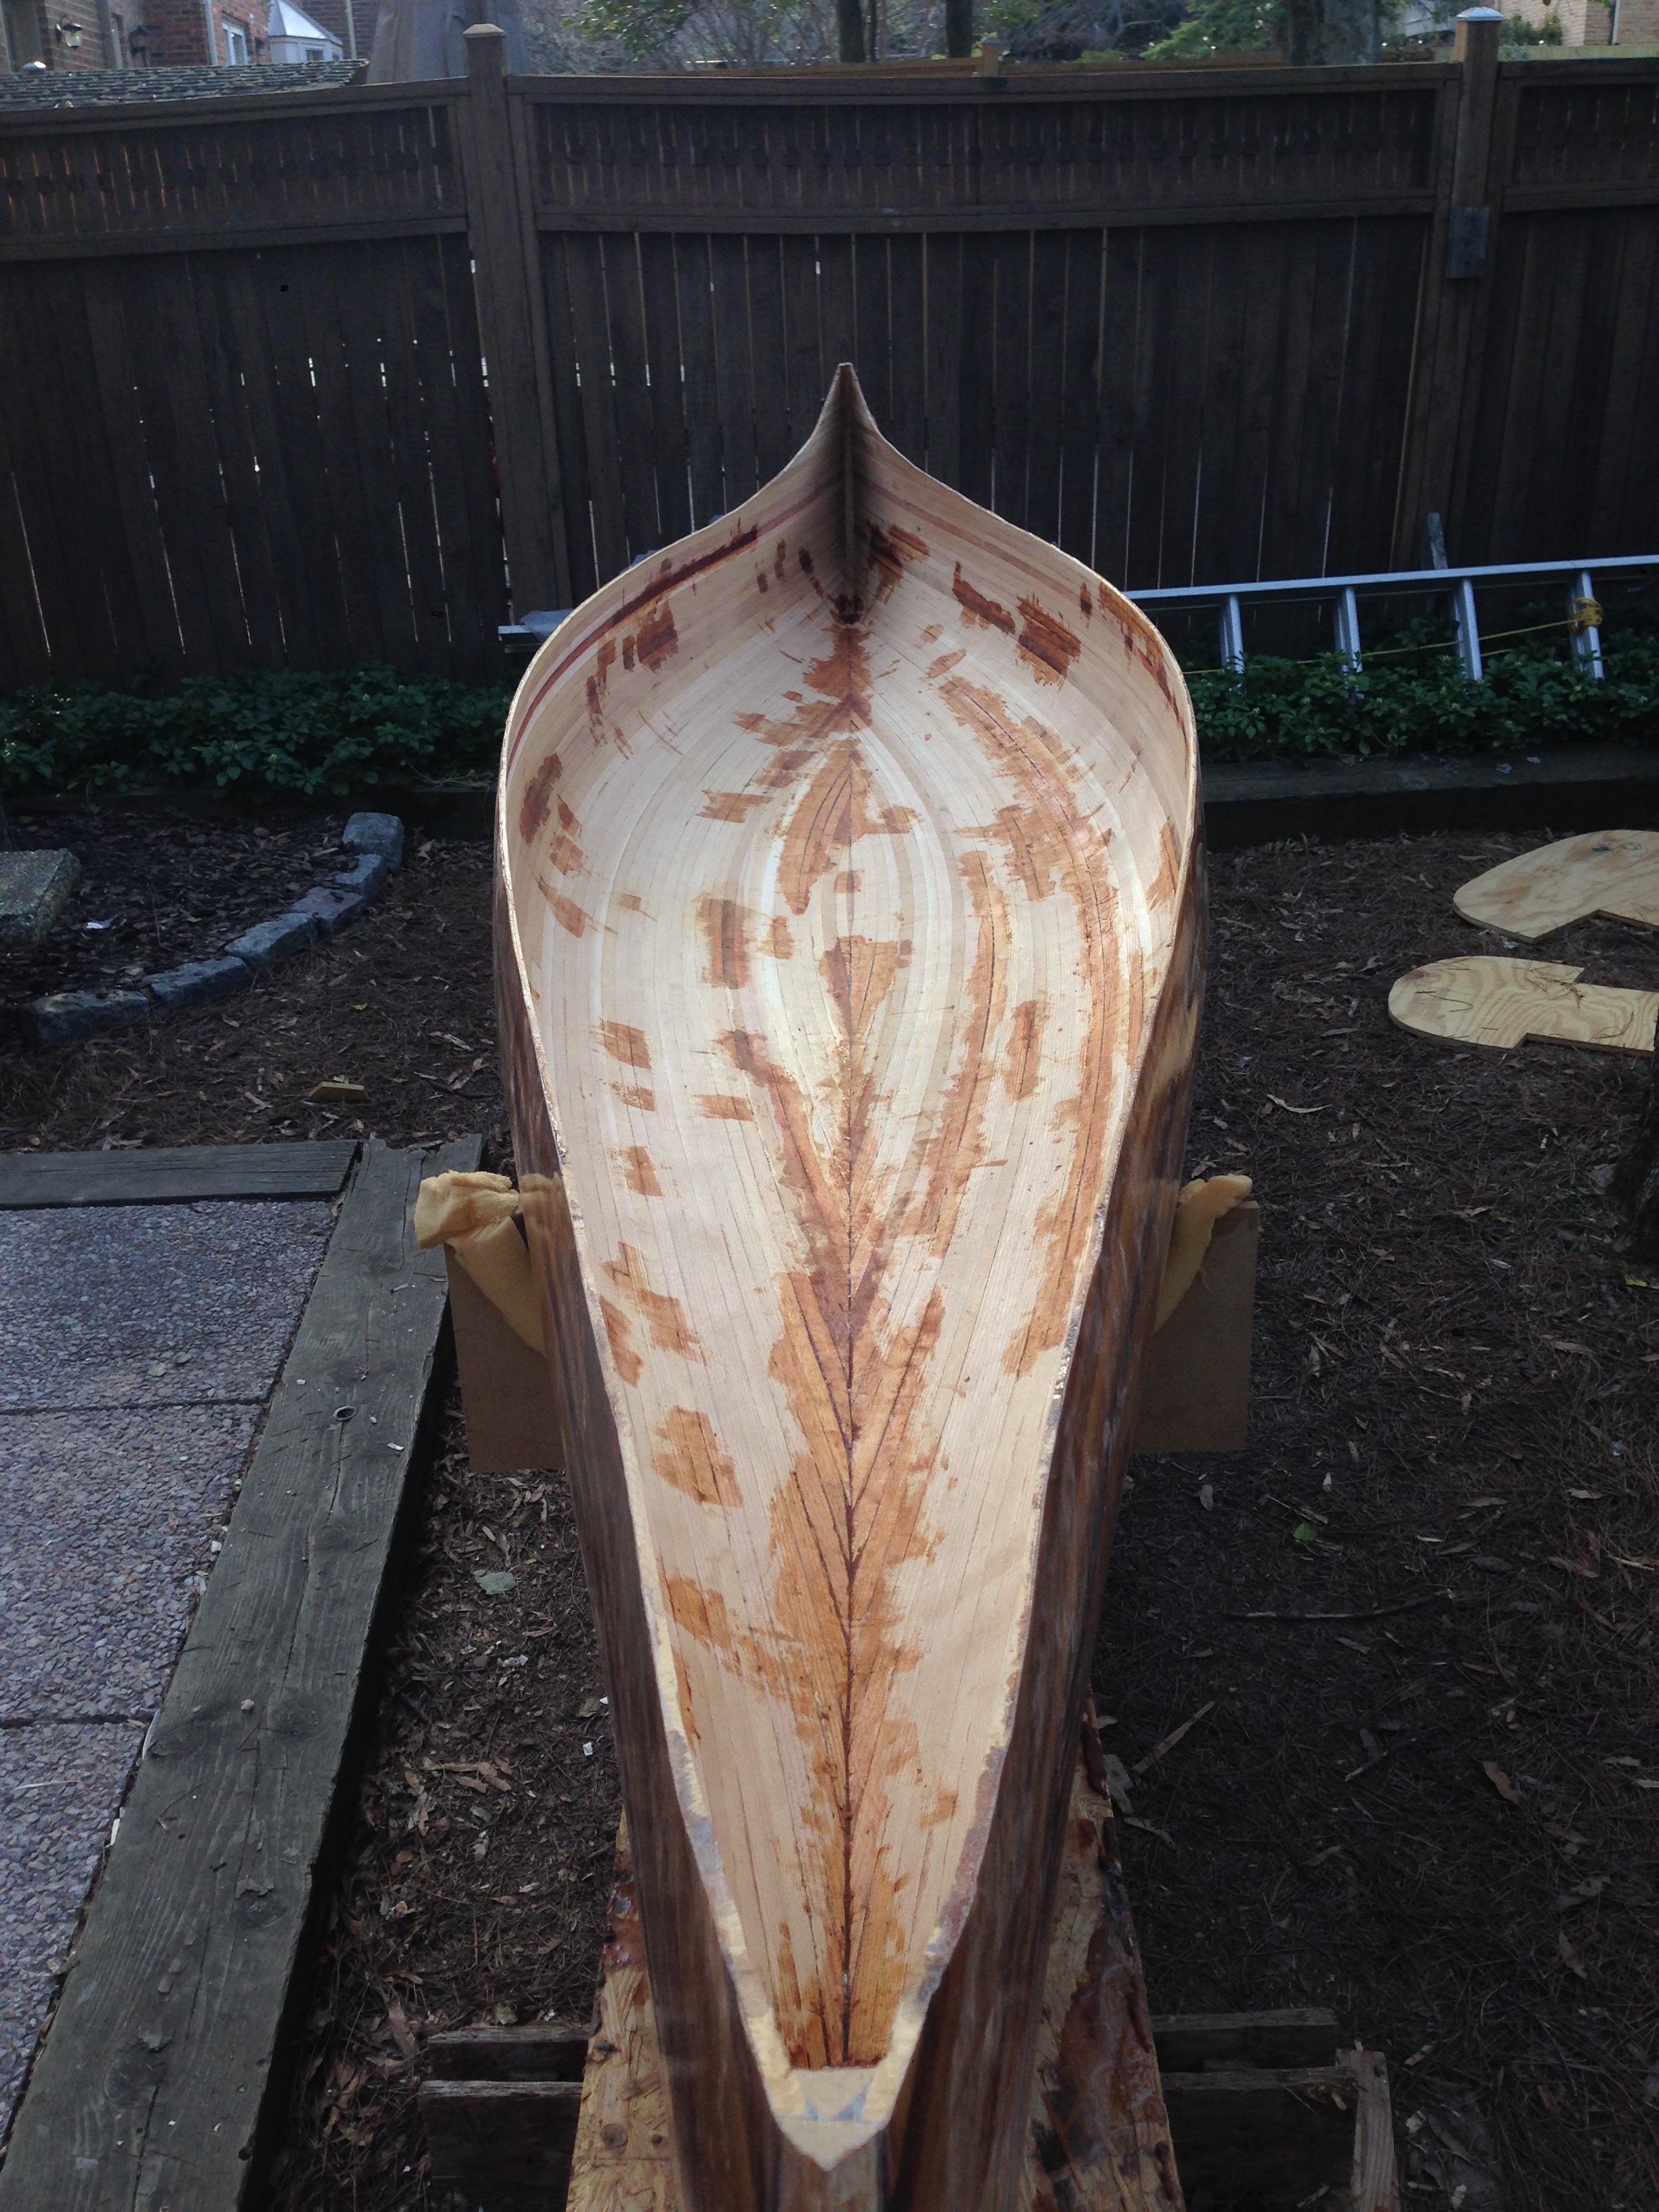
planking the hull with interlocking cedar strips.
with planking complete, every staple is removed from the hull.
the hull is shaped with a hand plane, trimmed, and outer stems attached.
the hull is washed & the outer fiberglass weave is epoxied on.
a two part marine epoxy is used to fiberglass the hull and make it waterproof.
filling the fiberglass weave with epoxy both turns it translucent and bonds it to the wooden hull.


